It'll Grow
A bad haircut. I am sure that many of us have ‘been there, done that’; perhaps more times than we would like to admit! Maybe it was the result of an adventurous whim to ‘try something new’ or one too many bad hair-days that finally led to an emotional snap, regardless of the motivation, at one point most of us have walked into a salon with a clear and simple directive: CHOP IT!
Regret soon follows: “What was I thinking?”
You beat yourself up a little: “I must have been crazy!”
And you try to find a solution: “Maybe I can cover this up somehow…”
Luckily (and thankfully), with time the bad haircut fades away to become a little blip in your hairdo history.
What on EARTH does this have to do with gardening you ask?
Well, one of my latest gardening tasks- completely cutting down perennials to rejuvenate their foliage- may conjure up feelings similar to the aftermath of a bad haircut… but I promise you that it will all work out in the end.
Now it may seem totally crazy to completely ‘whack back’ a perfectly lush plant in the middle of the growing season, leaving a gaping hole in your garden… but that is precisely what we do! The reason? The foliage of certain perennials can deteriorate once their flowering period wraps-up. Cutting these worn-out looking plants down to the ground (being mindful to not chop new growth that is already emerging from the base) is a great way to encourage a new flush of leaves that will look fresh and continue to look great for the remainder of the growing season.

When cutting perennials to the ground, it is important to be mindful of new foliage that is already starting to grow from the base of the plant- such as these tiny Alchemilla mollis leaves.
Common perennials that respond to this seemingly harsh treatment include:
Alchemilla mollis (lady’s mantle)
Centaurea montana (bachelor’s button)
Geranium cvs. (various ‘sprawly’ cranesbill geranium cultivars such as ‘Johnson’s Blue’)
Nepeta spp. (various species of catmint)
Papaver orientale (oriental poppy)
Pulmonaria (lungwort)

Alchemilla mollis (lady’s mantle) after flowering (left) and cut down to the newest leaves, as shown in the photo on the right (Gasp- what have I done?!?). .

Another example of a patch of Alchemilla mollis after flowering (left) and cut down to the youngest leaves (right).
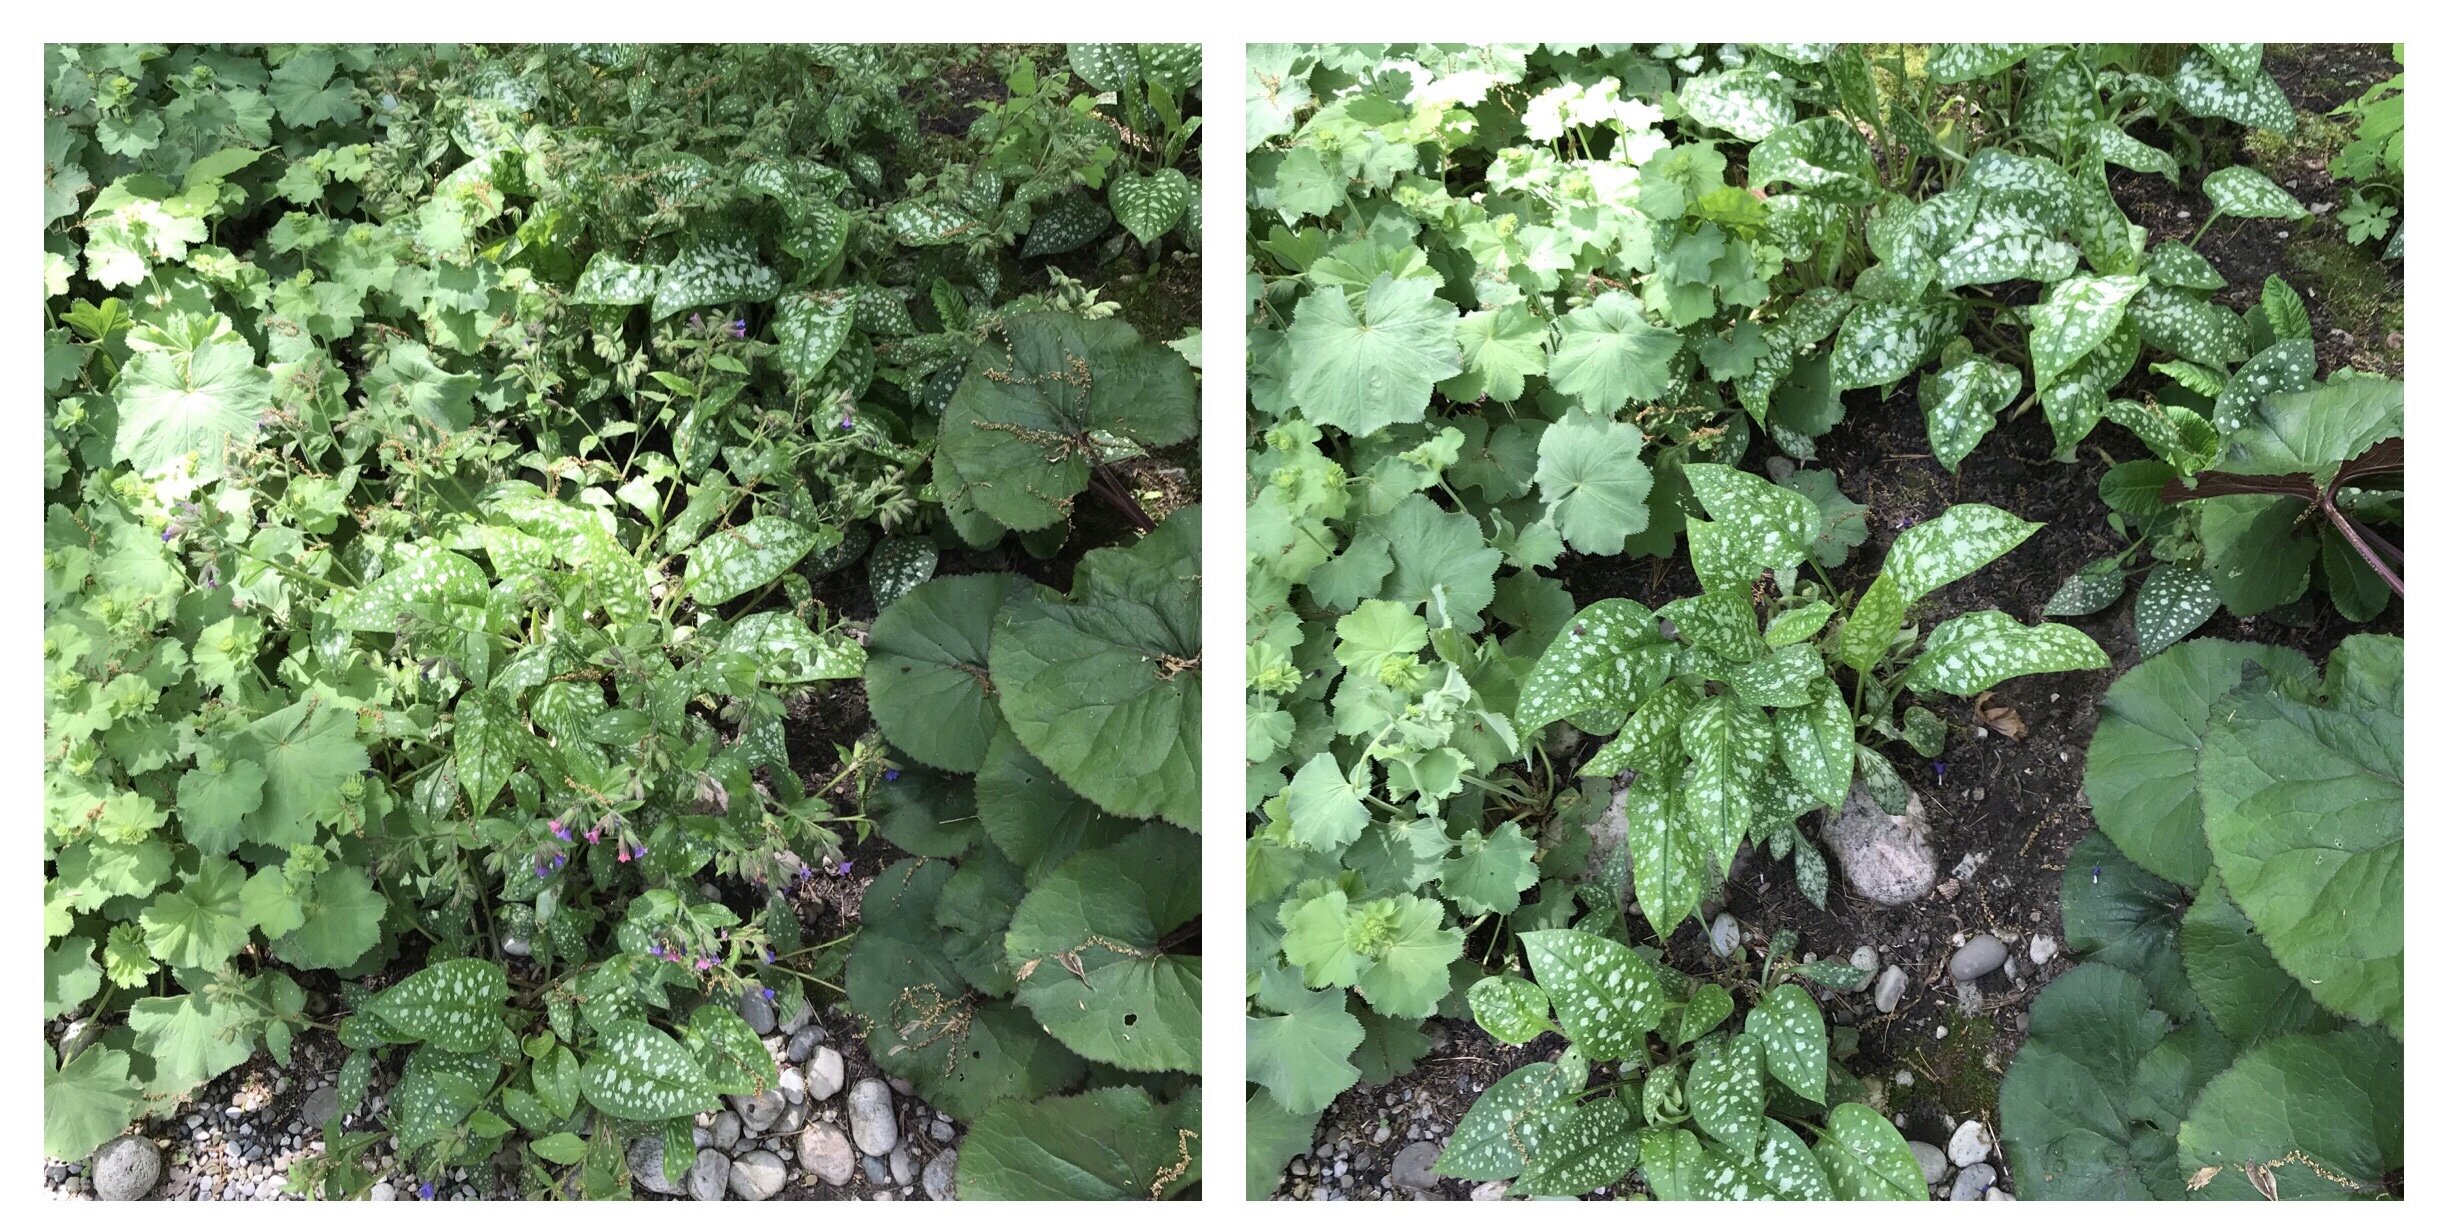
A patch of Pulmonaria showing the plants immediately after flowering (left) and with most of the old leaves cut down (right). As the new growth continues to flush out, I will go back and cut out the remaining old leaves- this two step approach is not so jarring to look at, and a little kinder to the plant too.
I will also use this technique on other plants under certain circumstances. For example:
Aquilegia spp. (various species of columbine)- the leaves of these perennials are often feasted upon by leaf miner (little bugs that live and dine within the leaves). The tracks of feeding damage on the leaves can look quite interesting when feeding is minimal, but the leaves can look quite ratty when the infestation is severe. Chopping the plant down to the ground helps reduce the insect population and the new growth is generally not affected by the pest (or affected to a much lesser degree). .

Leafminer damage on Aquilegia (columbine).
Hemerocallis spp. (daylily)- daylilies look amazing up until they bloom at which point their foliage begins to die back. The unsightly dead foliage can be remedied by dead-leafing (removing the dead leaves) but some plants will die back so extensively that the resulting ‘stringy look’ is hard to bear. If a daylily gets to this point, the plant has usually started to sprout new growth at the base. I will cut all the old leaves down to allow this new growth to take over.

A daylily in flower that is starting to show leaf die-back (left). At this point, the aesthetics are improved by dead-leafing (right). If die-back becomes extensive, I remove all the leaves to make way for new, fresh growth.
A word of caution
It is important to remember that removing leaves from a plant means removing the abilty of the plant to make food for itself. This is tough for the plant! Help the plant rebound quickly by minimizing other stressors. Ensure the chopped plants stay well watered; drought-stressed plants will not be able to respond with new growth. Additionally, you may choose to add some nutrients to the soil in the way of compost or manure to ensure the plant has what it needs to grow.
And there you have it! Now it is time to grab your secateurs and chop down some foliage (if you have any of the plants listed above). Afterwards, step back and stare at the hole you just made in your garden with some regret, but keep in mind that little tidbit of consolation that was offered to you repeatedly during the days following your bad haircut…
“It’ll grow back”.


