Footprints are for the beach.

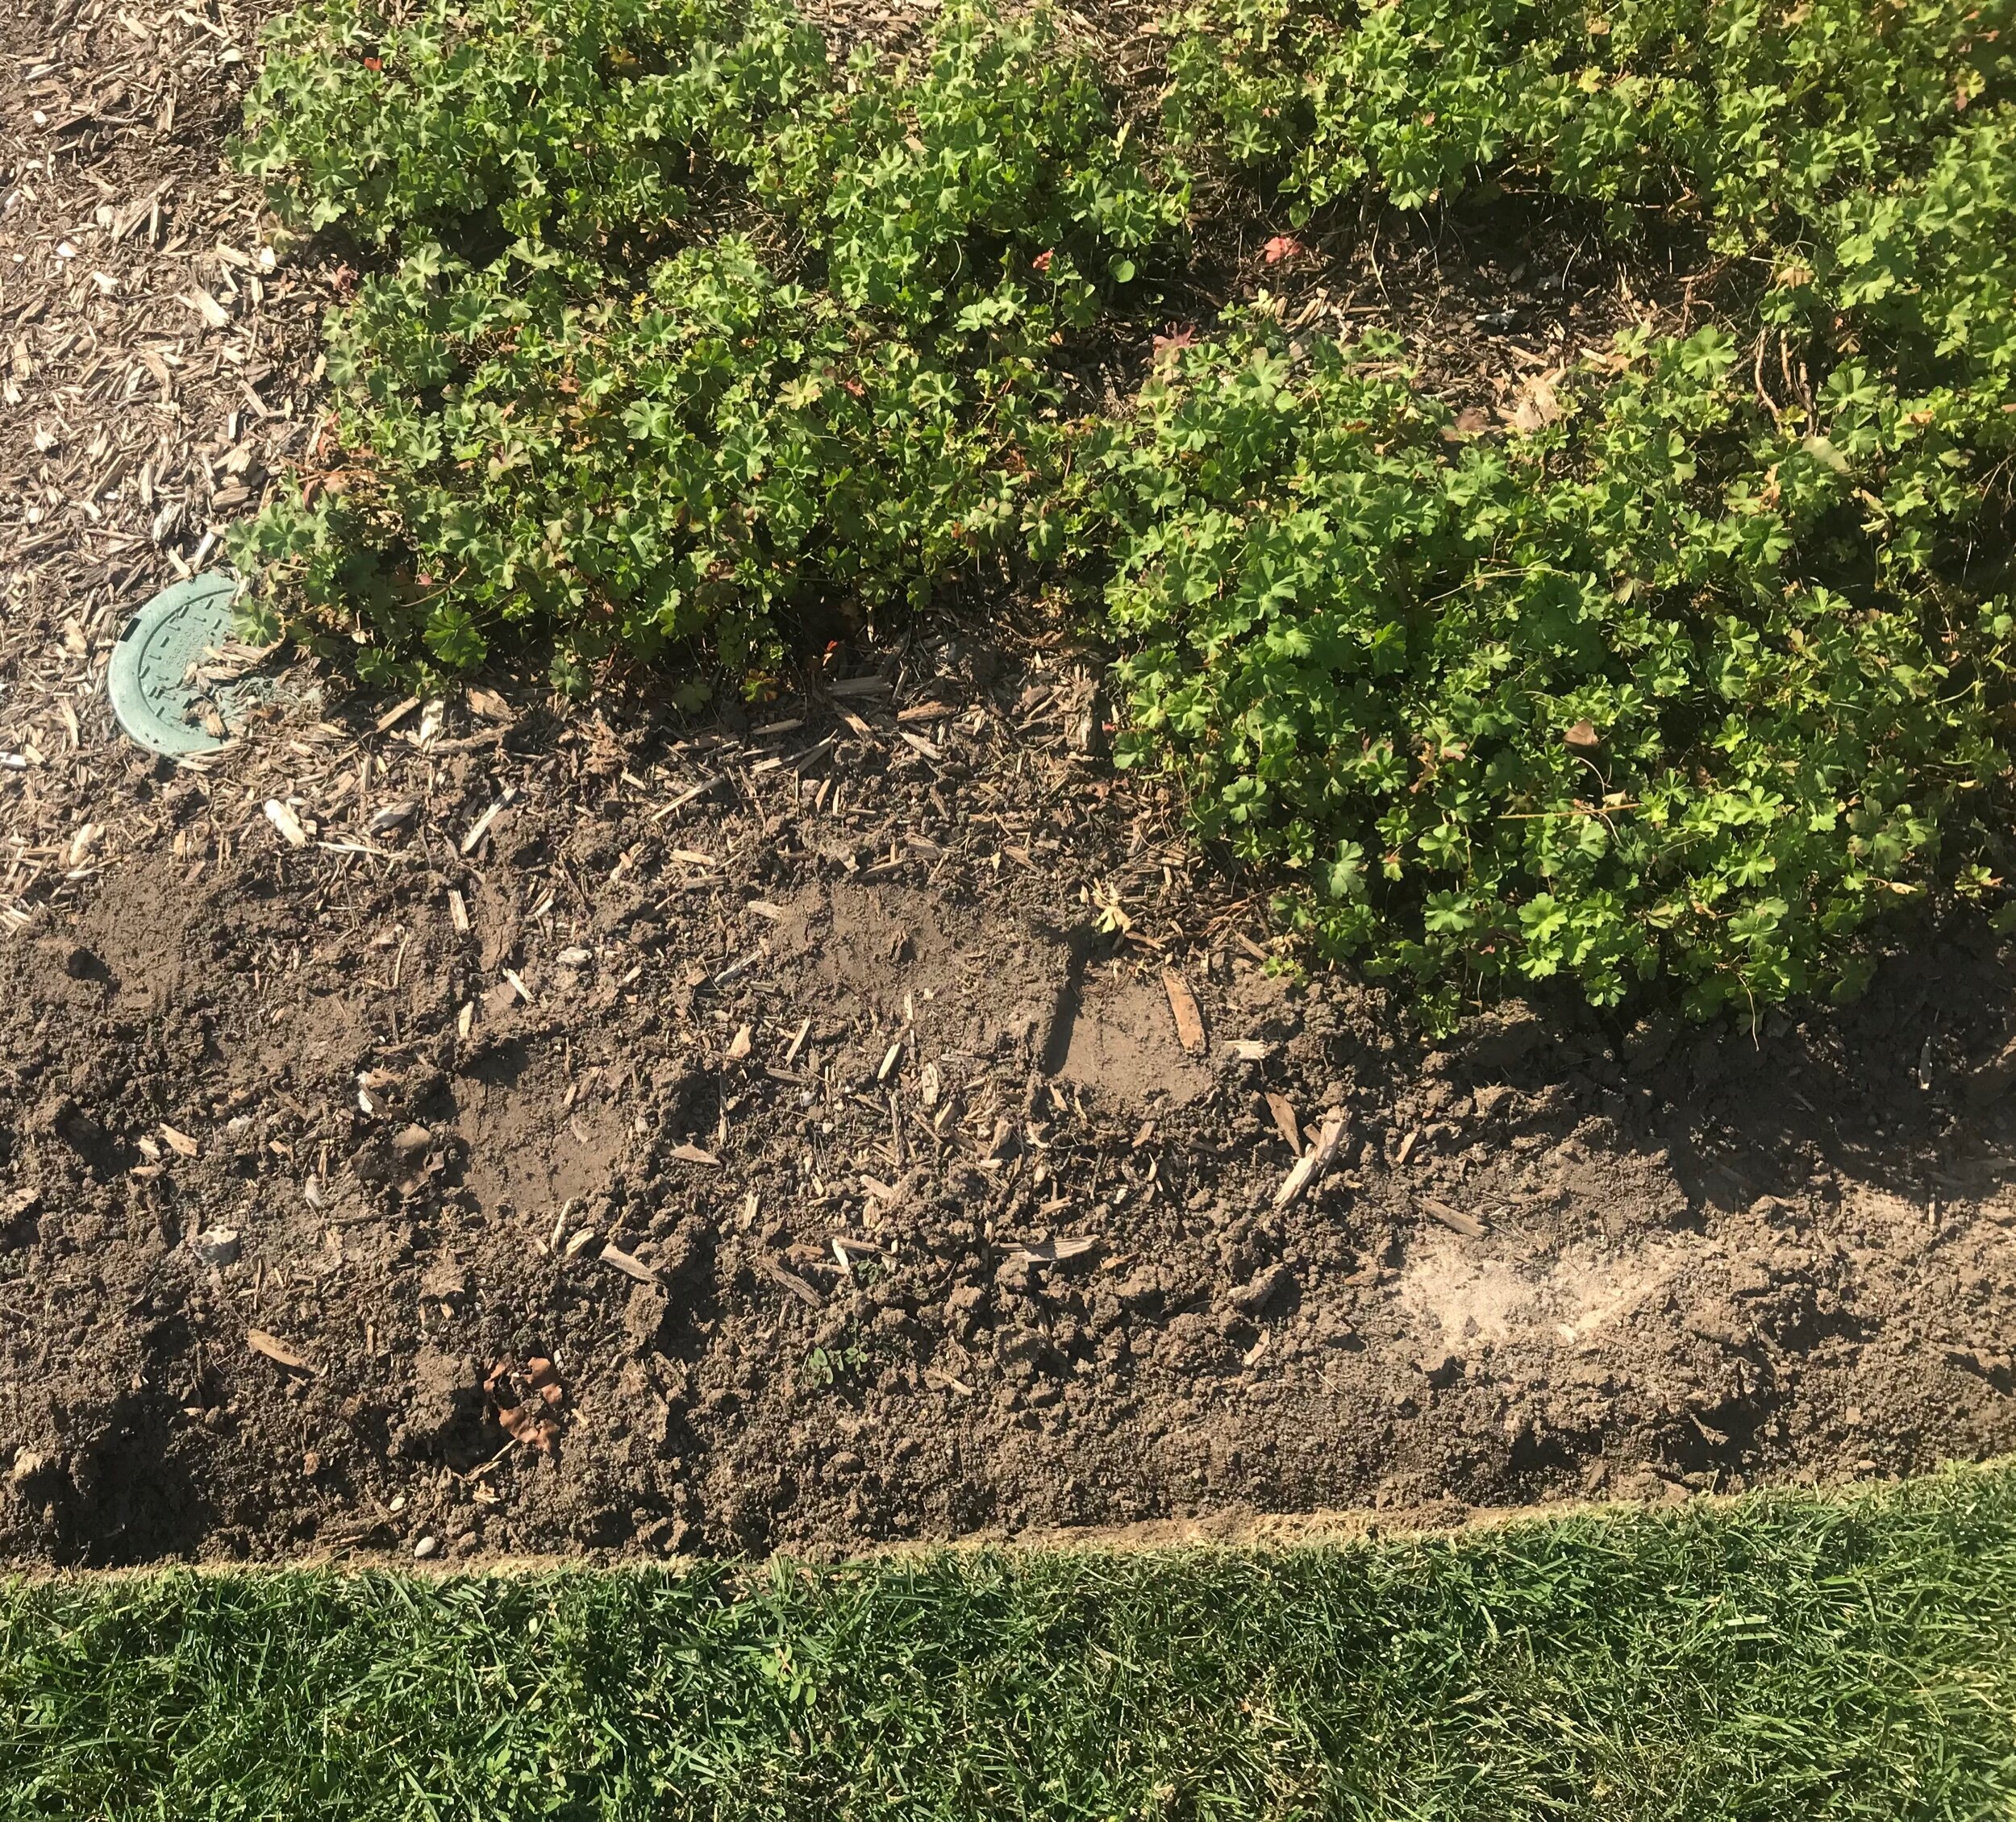
What do you see when you look at this picture?

IMG_5301.jpeg

I’ll start by telling you what I don’t see. (Rant alert!!!)

I don’t see a beautiful garden edge.

I don’t see a patch of Geranium x cantabrigiense that feels the same way about the relentless heat we have been experiencing that I do.

Instead, I see 2 big footprints glaring at me from the dirt. Hmmm… mens size 9.5 maybe?

Anyone who knows me, knows that footprints in a garden are a HUGE pet peeve of mine. I am known to walk backwards out of a garden, fluffing out my footprints as I retreat. I am sure it has raised many an eyebrow. I am also known to contort into various awkward-looking pseudo-yoga poses in order to avoid taking a step into a garden bed. (Should we call for help? Wonder the passerbys).

Ahhhh…. just a little fluff of the mulch makes everything better!

Ahhhh…. just a little fluff of the mulch makes everything better!

As a landscape gardener, I believe that gardens should look like they magically take care of themselves or little garden fairies tend to them while we are sleeping. Therefore when I leave a job site, I strive to leave no trace of my gardening visit. 

Footprints just look awful. They dash the illusion of magical intervention, and they detract from the nice features within a garden. As in the photo above, instead of seeing the absolutely beautiful garden edge made by Mr. 9.5, all I see is the print of a CSA approved workboot. Pitty. 

OK. Rant complete. Now onto something more productive as there are other reasons to not trample in a garden. Repeatedly walking all over a garden bed (especially a wet one) causes compaction of the soil: an all-around bad situation.

Let’s backtrack. 

Soil is made up of a few different things:

  1. Mineral components (sand, silt and clay)

  2. Organic components (such a living organisms and decaying plant matter)

  3. Pore spaces (tiny spaces between soil particles that are filled with water or air)

Now there are entire textbooks devoted to soil. I know- I’ve owned one… and likely slept on it before an exam in the hopes that any unlearned information would somehow transfer into my brain via osmosis. So I am going to try to keep this concise: essentially, the pore spaces in the soil are really important! 

When soil is compacted, the solid soil particles are pressed closer together thus reducing pore spaces. When this happens, there are significant consequences. Here are some of them:

  • The soil becomes denser and it becomes harder for plant roots to push through the soil, stunting the root system and negatively impacting the overall growth of the plants

  • The soil cannot absorb moisture as easily (which means that rain/irrigation water is more likely to run off the soil rather than infiltrate into it)

  • The ability of the soil to drain can be restricted, leading to overly saturated conditions for extended periods of time (not all plants are able to tolerate these conditions)

  • Gas exchange between the roots of plants and the soil (needed for biological processes) and also between the soil environment and the ‘outer world’ is compromised which negatively impacts plant growth

  • Availability and plant uptake of nutrients can be negatively affected in compacted soils

  • Soil processes such as the decomposition of organic matter can be slowed down

Why is it that nothing grows on a hiking trail? Soil compaction is a significant factor.

Why is it that nothing grows on a hiking trail? Soil compaction is a significant factor.

OK. You can wake up now!

So you probably get the point that soil compaction is a BAD thing… but what’s a lowly weight-bearing gardener to do?

While it is impossible to not walk in a garden, there are some tips to help minimize compaction of your soil:

  • Tread minimally: if you can reach what you need to reach without stepping into your garden, harness your inner psuodo-yogi and do it! Additionally, don’t walk through your garden to get to your next task, step out of it and walk around it if possible. Then take the shortest route possible back into the garden to access your next working area.

  • Be mindful of the moisture level in your soil: it is much easier to compact wet soils than dry ones. If you need to be walking in your garden beds, do so when the soil is on the drier side. This is an especially important point to keep in mind if you garden on clay soils, which are much easier to compact than sandier soils.

  • Designate your walking zones: some gardeners will put minor paths through their garden to act as access points from which they can work without having to step into their cultivated areas. These paths can be as simple as a mulched trail or small stepping stone walkway. Whatever your path of choice, using one keeps the impacts of compaction to a specific area.

  • Distribute your weight: some gardeners choose to distribute their weight by placing down temporary planks across the garden on which they walk. Obviously this is not always feasible or practical but it can be a good soil-preserving technique.

A garden that can be accessed by various features such as a dry riverbed (not shown) and rockery.

A garden that can be accessed by various features such as a dry riverbed (not shown) and rockery.

And thats a wrap!

Soil compaction... an important process that can have significant consequences on your garden and it’s inhabitants (and here you thought you were looking at simple footprints...).

It'll Grow

A bad haircut. I am sure that many of us have ‘been there, done that’; perhaps more times than we would like to admit! Maybe it was the result of an adventurous whim to ‘try something new’ or one too many bad hair-days that finally led to an emotional snap, regardless of the motivation, at one point most of us have walked into a salon with a clear and simple directive: CHOP IT!

Regret soon follows: “What was I thinking?”

You beat yourself up a little: “I must have been crazy!”

And you try to find a solution: “Maybe I can cover this up somehow…”

Luckily (and thankfully), with time the bad haircut fades away to become a little blip in your hairdo history.

What on EARTH does this have to do with gardening you ask?

Well, one of my latest gardening tasks- completely cutting down perennials to rejuvenate their foliage- may conjure up feelings similar to the aftermath of a bad haircut… but I promise you that it will all work out in the end.

Now it may seem totally crazy to completely ‘whack back’ a perfectly lush plant in the middle of the growing season, leaving a gaping hole in your garden… but that is precisely what we do! The reason? The foliage of certain perennials can deteriorate once their flowering period wraps-up. Cutting these worn-out looking plants down to the ground (being mindful to not chop new growth that is already emerging from the base) is a great way to encourage a new flush of leaves that will look fresh and continue to look great for the remainder of the growing season.

When cutting perennials to the ground, it is important to be mindful of new foliage that is already starting to grow from the base of the plant- such as these tiny Alchemilla mollis leaves.

When cutting perennials to the ground, it is important to be mindful of new foliage that is already starting to grow from the base of the plant- such as these tiny Alchemilla mollis leaves.

Common perennials that respond to this seemingly harsh treatment include:

  • Alchemilla mollis (lady’s mantle)

  • Centaurea montana (bachelor’s button)

  • Geranium cvs. (various ‘sprawly’ cranesbill geranium cultivars such as ‘Johnson’s Blue’)

  • Nepeta spp. (various species of catmint)

  • Papaver orientale (oriental poppy)

  • Pulmonaria (lungwort)

Alchemilla mollis (lady’s mantle) after flowering (left) and cut down to the newest leaves, as shown in the photo on the right (Gasp- what have I done?!?). .

Alchemilla mollis (lady’s mantle) after flowering (left) and cut down to the newest leaves, as shown in the photo on the right (Gasp- what have I done?!?). .

Another example of a patch of Alchemilla mollis after flowering (left) and cut down to the youngest leaves (right).

Another example of a patch of Alchemilla mollis after flowering (left) and cut down to the youngest leaves (right).

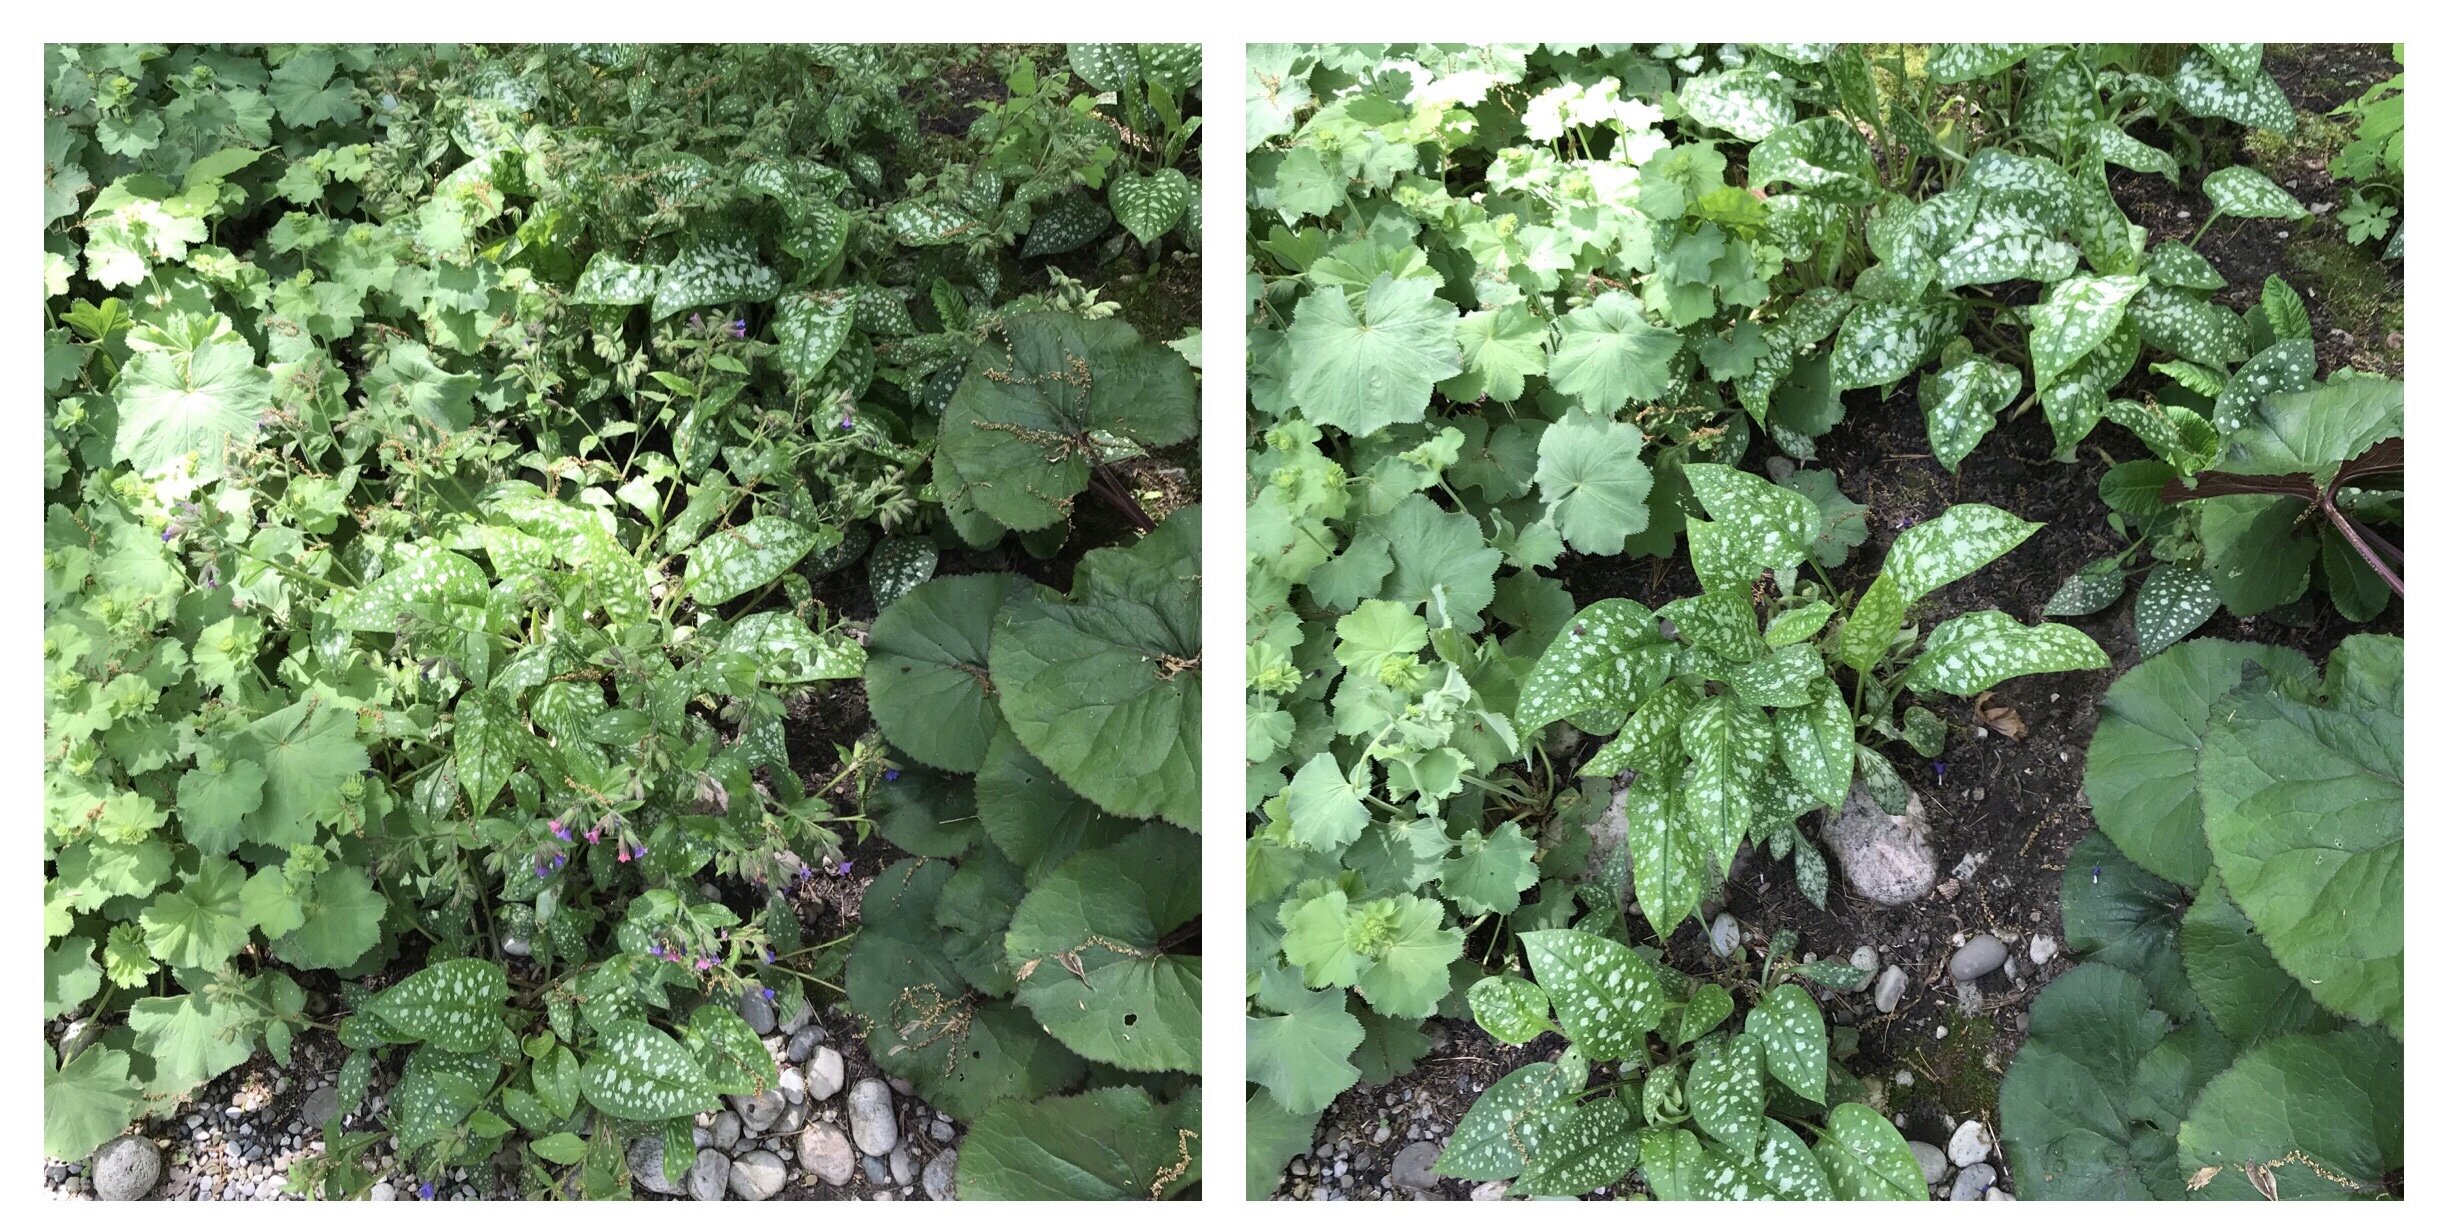
A patch of Pulmonaria showing the plants immediately after flowering (left) and with most of the old leaves cut down (right). As the new growth continues to flush out, I will go back and cut out the remaining old leaves- this two step approach is no…

A patch of Pulmonaria showing the plants immediately after flowering (left) and with most of the old leaves cut down (right). As the new growth continues to flush out, I will go back and cut out the remaining old leaves- this two step approach is not so jarring to look at, and a little kinder to the plant too.

I will also use this technique on other plants under certain circumstances. For example:

  • Aquilegia spp. (various species of columbine)- the leaves of these perennials are often feasted upon by leaf miner (little bugs that live and dine within the leaves). The tracks of feeding damage on the leaves can look quite interesting when feeding is minimal, but the leaves can look quite ratty when the infestation is severe. Chopping the plant down to the ground helps reduce the insect population and the new growth is generally not affected by the pest (or affected to a much lesser degree). .

Leafminer damage on Aquilegia (columbine).

Leafminer damage on Aquilegia (columbine).

  • Hemerocallis spp. (daylily)- daylilies look amazing up until they bloom at which point their foliage begins to die back. The unsightly dead foliage can be remedied by dead-leafing (removing the dead leaves) but some plants will die back so extensively that the resulting ‘stringy look’ is hard to bear. If a daylily gets to this point, the plant has usually started to sprout new growth at the base. I will cut all the old leaves down to allow this new growth to take over.

A daylily in flower that is starting to show leaf die-back (left). At this point, the aesthetics are improved by dead-leafing (right). If die-back becomes extensive, I remove all the leaves to make way for new, fresh growth.

A daylily in flower that is starting to show leaf die-back (left). At this point, the aesthetics are improved by dead-leafing (right). If die-back becomes extensive, I remove all the leaves to make way for new, fresh growth.

A word of caution

It is important to remember that removing leaves from a plant means removing the abilty of the plant to make food for itself. This is tough for the plant! Help the plant rebound quickly by minimizing other stressors. Ensure the chopped plants stay well watered; drought-stressed plants will not be able to respond with new growth. Additionally, you may choose to add some nutrients to the soil in the way of compost or manure to ensure the plant has what it needs to grow.

And there you have it! Now it is time to grab your secateurs and chop down some foliage (if you have any of the plants listed above). Afterwards, step back and stare at the hole you just made in your garden with some regret, but keep in mind that little tidbit of consolation that was offered to you repeatedly during the days following your bad haircut…

“It’ll grow back”.