The Natural Prune
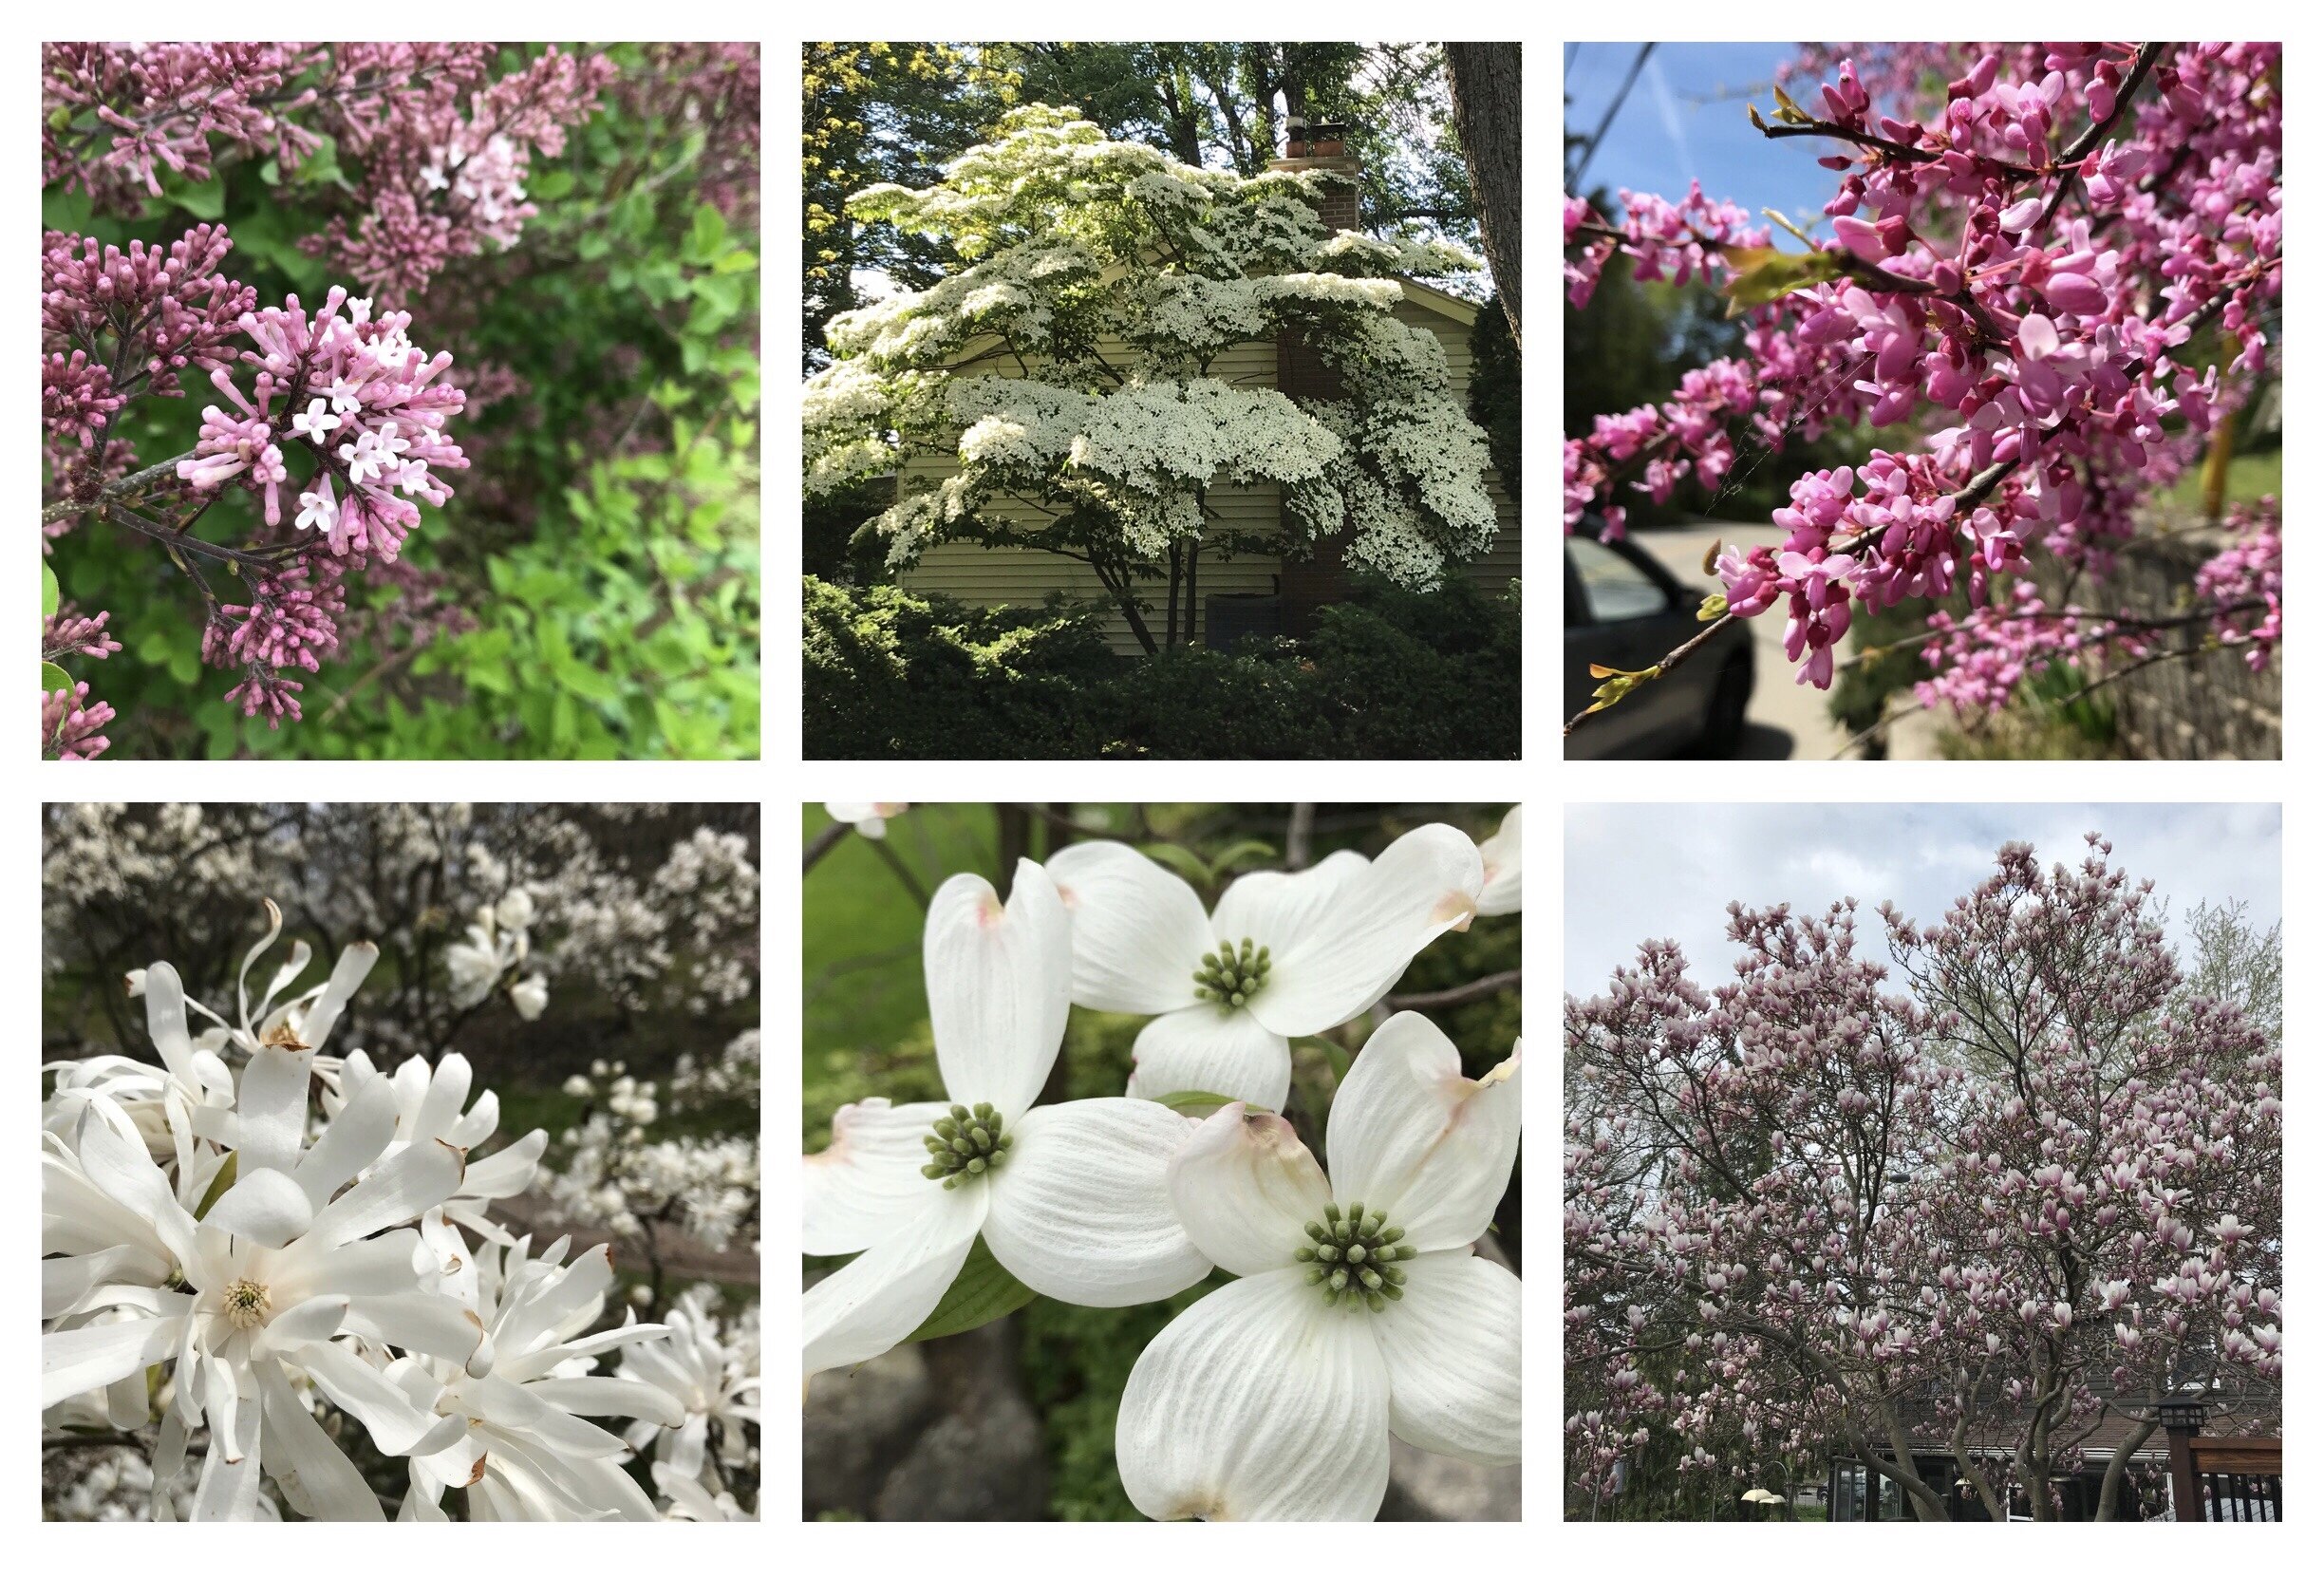
Pruning season is in full effect now. It’s a fun time of year because as early-blooming shrubs come out of bloom, it is generally the perfect time to prune them before they begin setting flower buds for next year.
Pruning can be a daunting task for many gardeners who are often incapacitated by the thought of timing things properly and the fear of killing their plants. Rest assured, if you time your pruning immediately after the flowering period, and remove no more than one third of the plant, your plant should be fine and flower again next season. (I said *should* because there are always exceptions, and if the plant is stressed in other ways such as through drought or nutrient deficiencies, the ability of the plant to rebound from pruning can be compromised. Additionally, some plants are more tolerant of a ‘haircut’ than others.)
I think that in reality, the main concern when it come to pruning should be disfiguring a plant- which happens all too often. Plants, like people, come in all shapes and sizes; and, also like people, the natural growth habit of a plant is what contributes to it’s natural beauty. This is why it drives me CRAZY when I see hedge shears used as a general all-purpose pruning tool (especially by landscape crews).
Don’t get me wrong- I love my hedge shears BUT they serve a specific purpose and that is for pruning hedges.
Hedge shears should only be used for one thing and that thing is….
anyone…
anyone…
Bueller?
The answer is HEDGES!!!!
Hedge shears are great for pruning things into lines, tight globes, pyramids, random animal shapes… but when it comes to flowering shrubs, they absolutely decimate the natural growth habit of a plant. (If you are a person who likes all the plants in your garden to be rounded- you are not alone, many people do, however this is not the post for you! You may now save yourself a few minutes of time and gracefully bow out of this article.)
Hedge shears: great for things like boxwood spheres… but not for the other flowering shrubs in the garden (such as the Hydrangea paniculata or Cornus kousa growing in the background).
OK- back to natural shapes…
Let’s use a kousa dogwood (Cornus kousa) as an example. This is a shrub known for it’s architecturally stunning horizontal branching structure. Here are two photos- the first on the left showing the natural form of the tree, and the second (on the right) that has fallen victim to the hedge shears.
Poor dogwood! This type of disfigurement is completely avoidable with a little knowledge of how trees and shrubs grow and respond to pruning.
The Effect of Pruning
Let’s backtrack just for a second and take a look at what pruning actually does to a plant. When a pruning cut is made, it encourages the plant to grow from the next available growing point behind the pruning cut which is either:
A bud or set of buds
Existing branches
If a branch has been pruned back to a bud/buds, this is known as a ‘heading-back’ cut. The bud(s) are essentially forced to grow (in the direction in which they are pointing) and the pruning has ultimately promoted branching at the point of pruning.
Pruning back to a bud (a ‘heading back’ cut). The yellow dot indicates the pruning point and the red arrows illustrate the direction of resultant growth.
When a plant is routinely sheared (or just the tips of branches are snipped off to control size), the constant growth from buds and resultant new branches ultimately leads to a tree or shrub with really dense growth and branching on the outer edges and bare stems within the centre of the plant- not exactly a natural form!
A basic schematic that shows how routine shearing leads to a shrub with very dense branching on the outer edges of the shrub and a sparse interior.
On the contrary, when a branch is pruned back to another branch (known as a ‘thinning cut’), the plant will essentially direct it’s growth toward that remaining branch.
A ‘thinning cut’ back to a lateral branch (indicated by the yellow dot) and the resultant growth directed toward the remaining branch (as indicated by the red arrow).
It is these thinning cuts that are the key to what I like to call ‘the natural prune’. Here is how it is done…
The trick is to visualize a ‘shrub within the shrub’. Usually I get blank looks when I use this line- but it is the best way to describe the process. Essentially, you want the shrub to have the exact same branching structure after the pruning job is complete as it did before you took the secateurs to it, yet the overall size is scaled back.
Perhaps the idea of pruning sounds even more daunting than before? Have no fear! Let’s walk through this together.
I generally follow three steps when doing a ‘natural prune’ on trees and shrubs:
Identify a long branch
Trace this branch back to where it connects with a secondary (lateral) branch somewhere within the shrub
Prune the long branch close to it’s union with the lateral branch (usually a few millimeters away from the point of connection, with the pruning cut angled up toward the lateral branch)
Continue this technique around the whole shrub, multiple rounds if necessary, to remove all the longest branches
An overly simplified image of a shrub illustrating the use of ‘thinning cuts’ to reduce the overall size. The coral-coloured branches indicate the portions of the shrub to be removed, the rest of the shrub remains. Note that the overall height and size of the shrub has been reduced using this technique.
Using this technique:
with the longest branches removed, the shorter ones become the outermost branches and therefore the overall size of the plant has been reduced
the pruning cuts are hidden within the shrub so you won’t be looking at little stubs that scream “I’ve just been pruned!”
the form of the shorter branches remain untouched and therefore the natural form of the shrub remains in tact
The plant won’t be forced to branch out from buds along the pruned stem because, by pruning to a secondary branch, the tree/shrub has essentially been told to direct it’s energy toward growing that secondary branch
Simple!
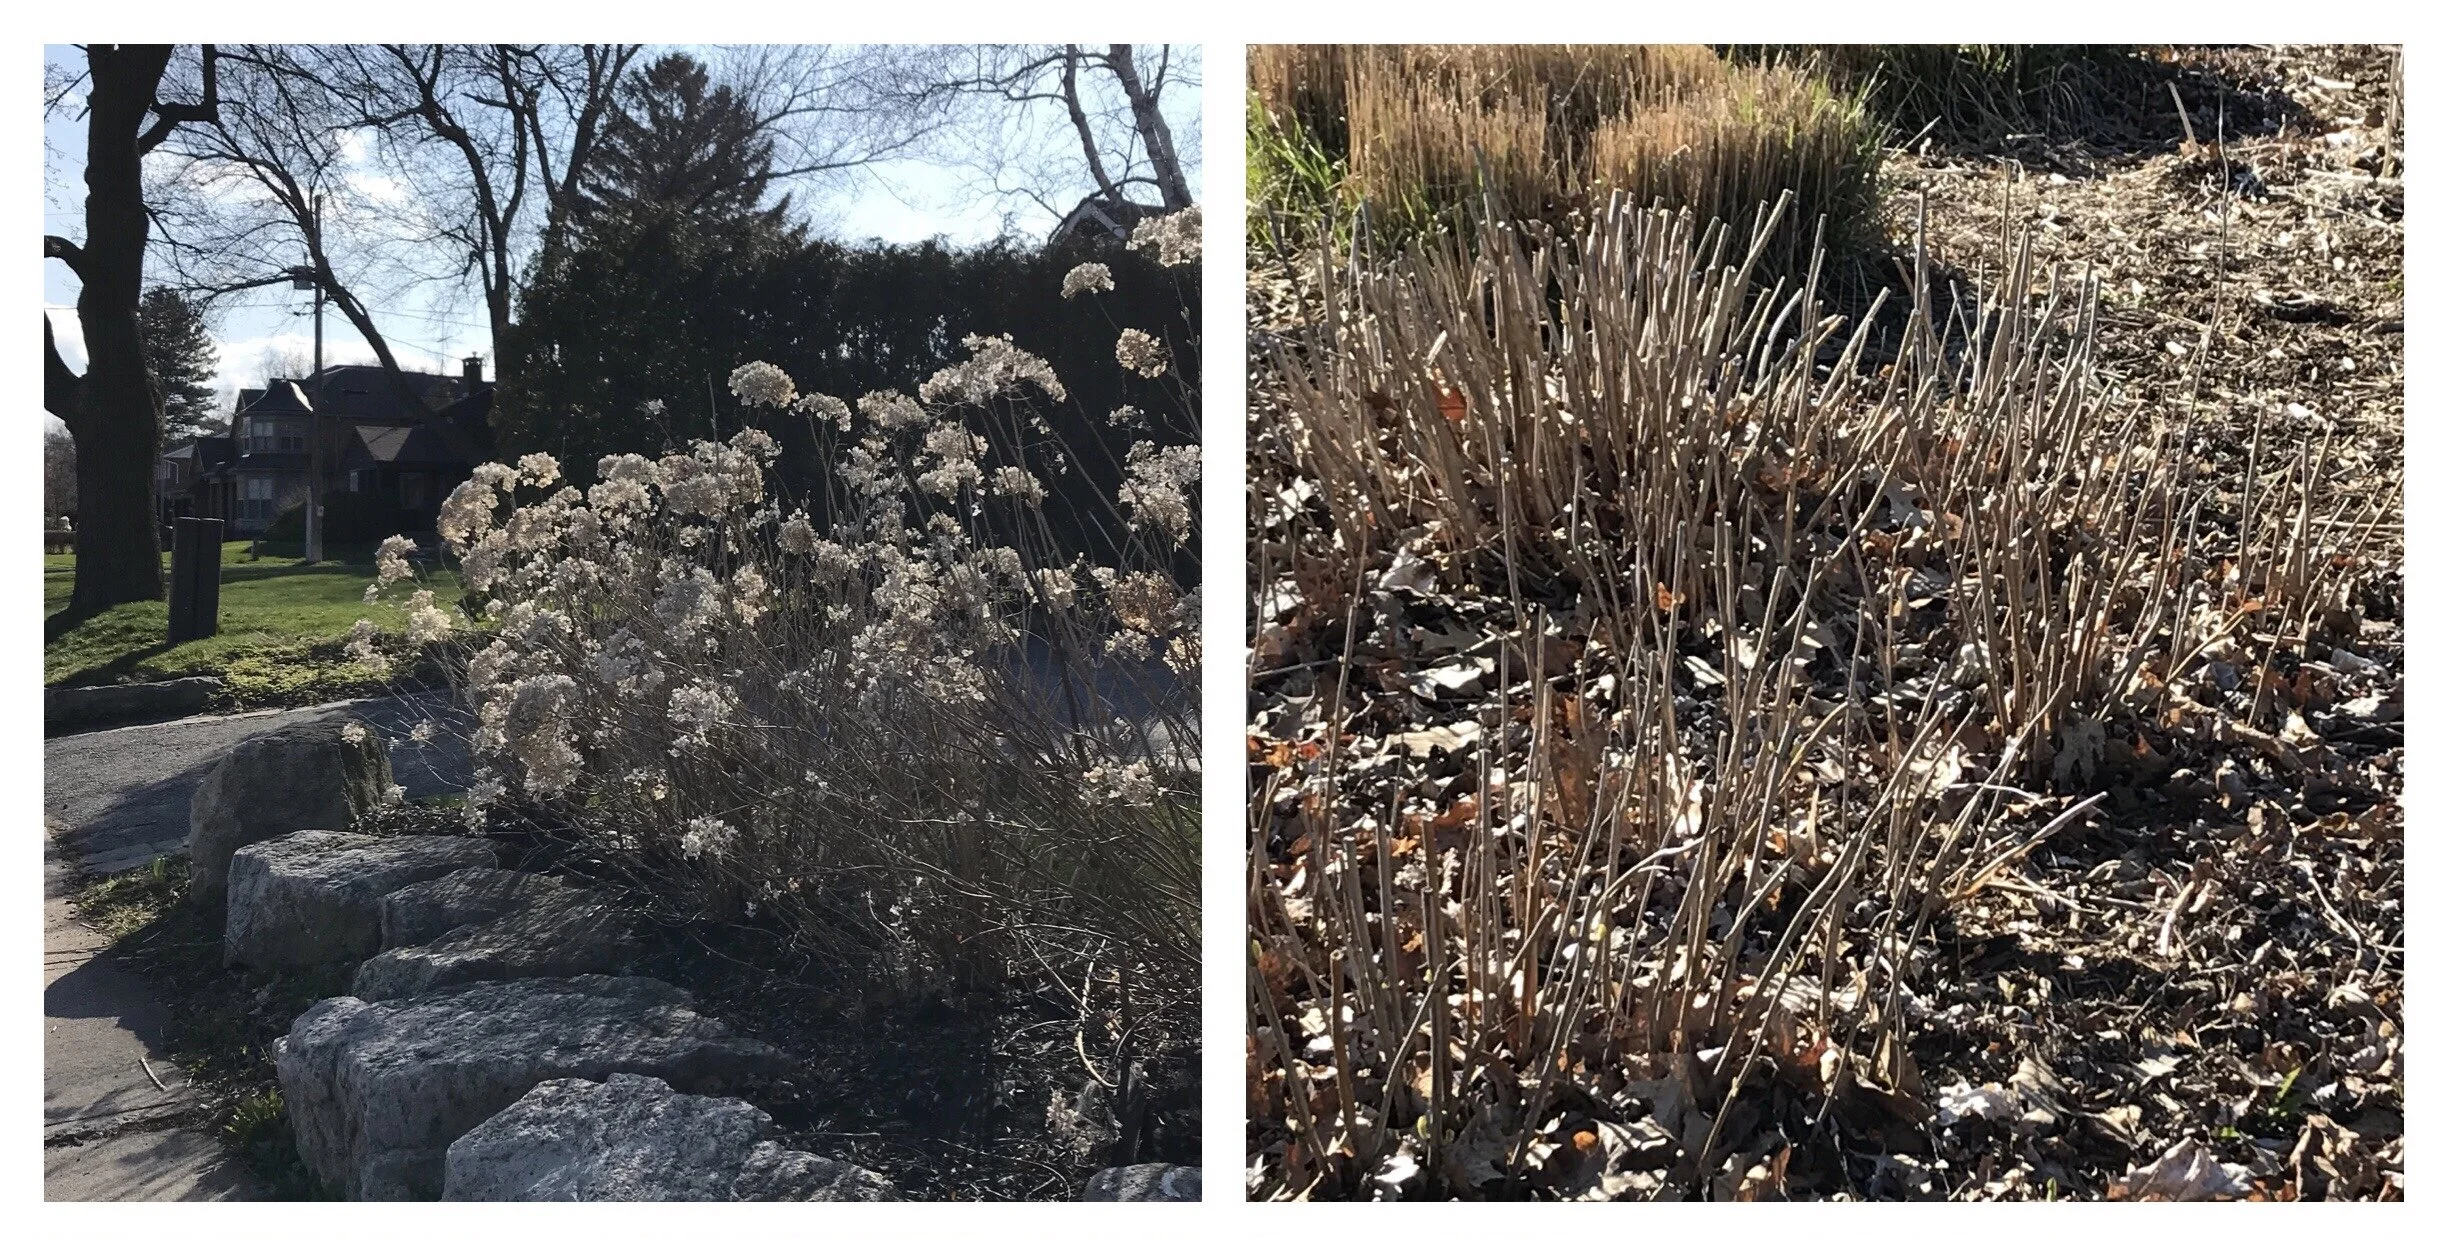
A sprawling ‘Glow Girl’ birch leaf spirea (Spirea betulifolia ‘Tor Gold’) immediately after flowering (left) and after a natural prune (right).
A dwarf Korean lilac (Syringa meyerii pallibin) kept as a globe. In this case hedge shears could have been used, but I reduced the size by thinning the longest branches.
Some Final Thoughts
This type of pruning is subtle- something that can be done yearly or every other year to help limit the size increase of the shrub over time. Doing subtle routine pruning is a much better approach to size control than trying to reign in a plant that is on the verge of outgrowing it’s garden space (which is usually the time when people begin to think about taking action). Drastic pruning on an overgrown plant is not only hard on the plant, it rarely looks natural and is usually a loosing battle. With all that said, overgrown plants are best avoided by ensuring your garden can accommodate the mature size of any tree and shrub that is planted in it.
So have fun and take your time with this pruning technique. It will take much longer than a ‘hedge shear haircut’, but the extra time will pay off when you are sitting in your garden admiring the diversity in forms throughout your yard.


